
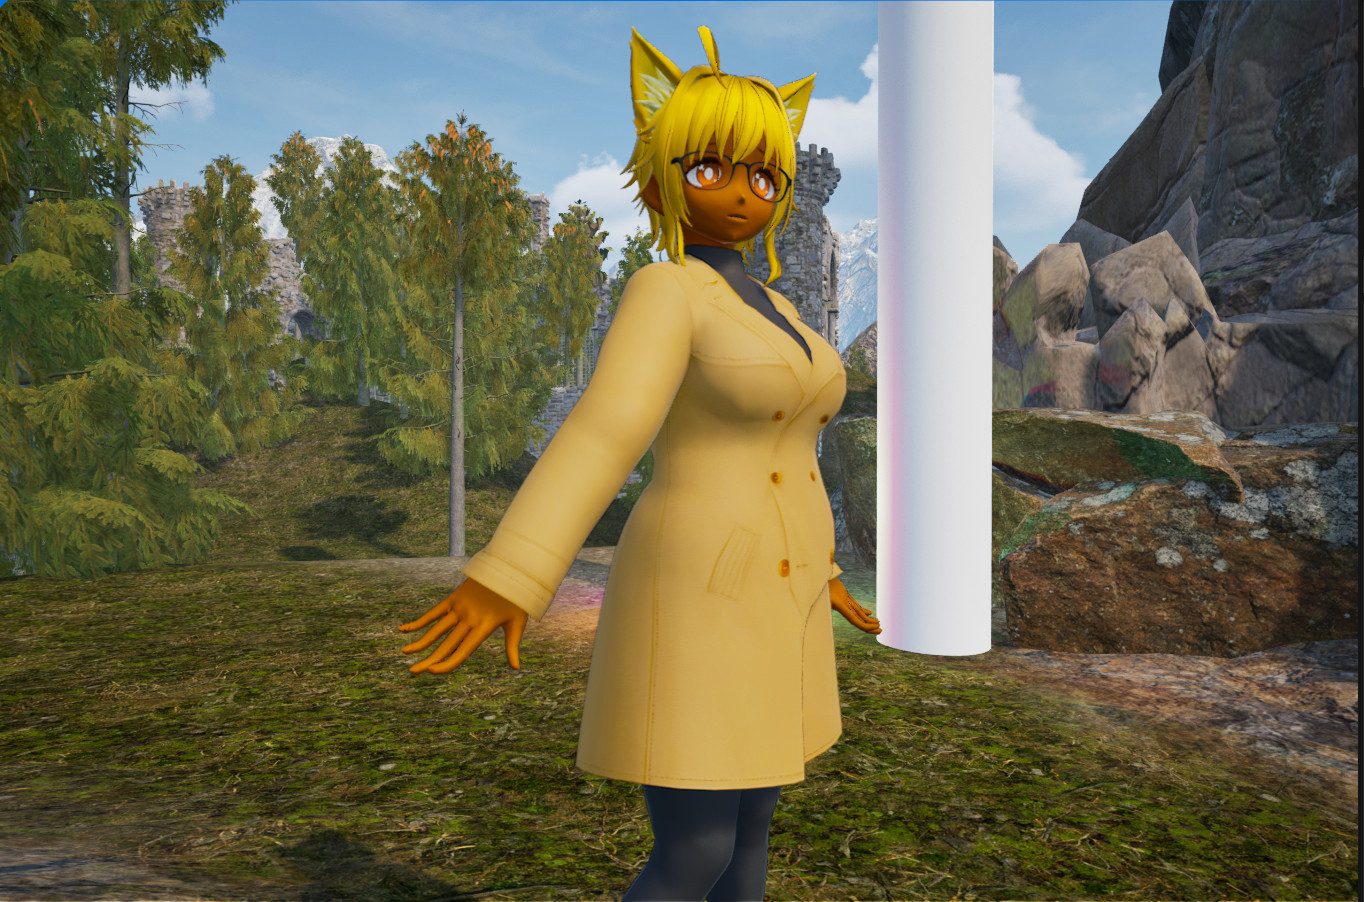
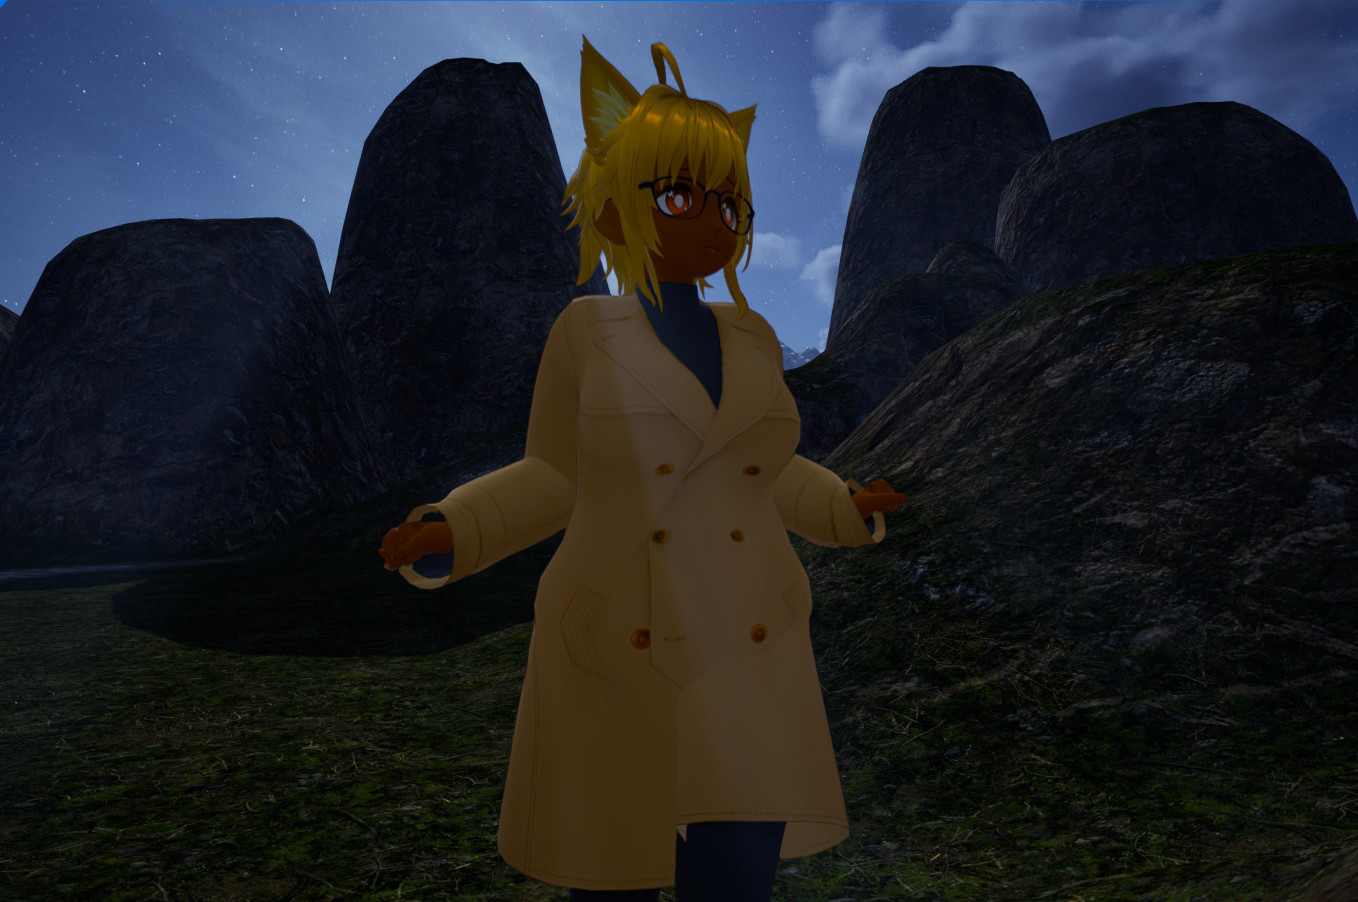
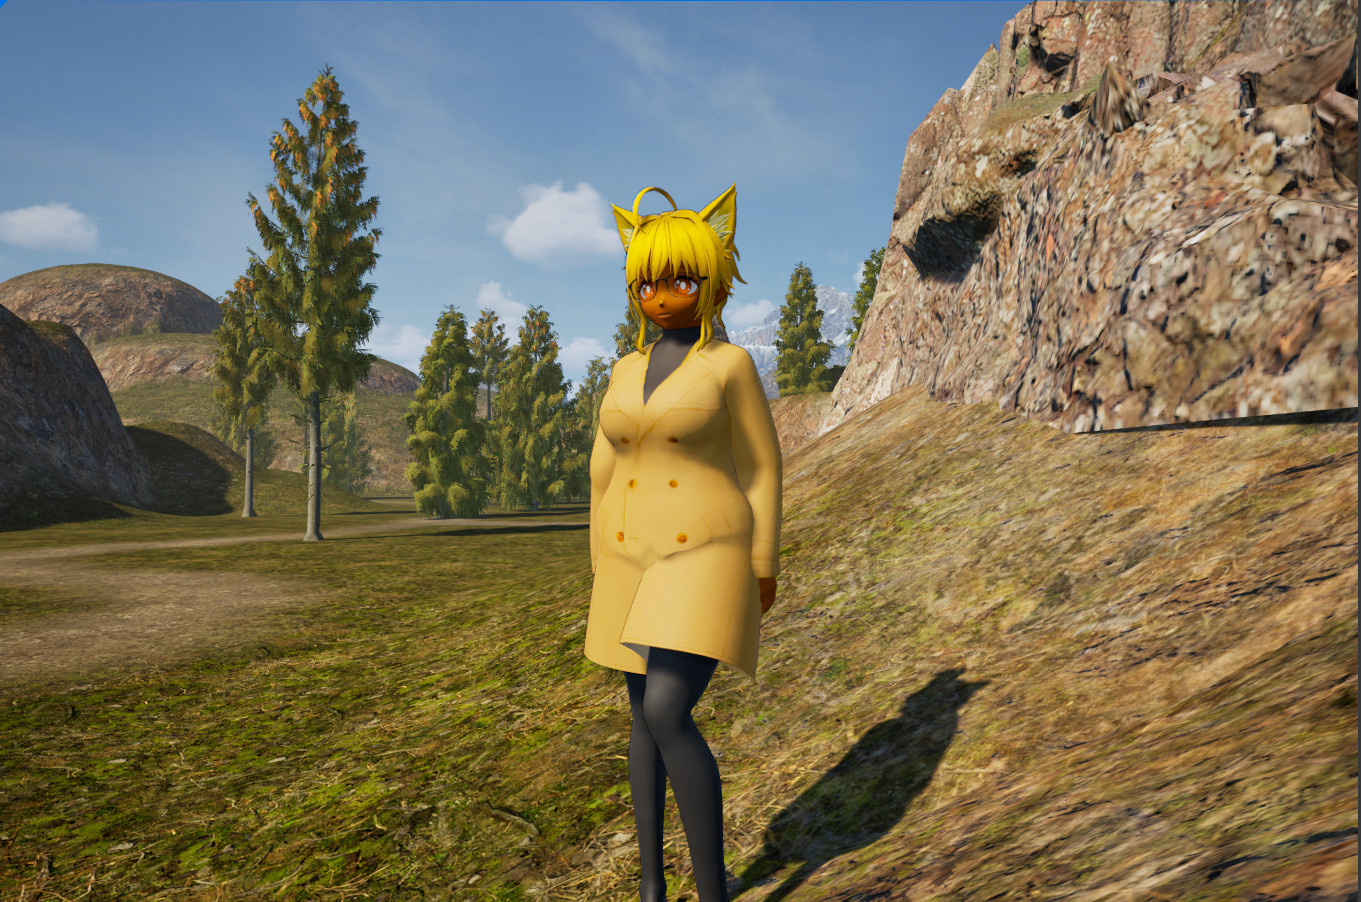
Here's the result of some shader tests I've been doing in Unreal Engine lately 😺💖
I'll post more images and explain my workflow in the next posts of this thread ;)
#DevLog #NekoSuki #KittyLoveAdventure #AkimiZahra #TwinKoryuu
I'll post more images and explain my workflow in the next posts of this thread ;)
#DevLog #NekoSuki #KittyLoveAdventure #AkimiZahra #TwinKoryuu
1 / 4

Comments
First, I followed this "Physically Based Cel Shading" tutorial video (by Visual Tech Art)
https://www.youtube.com/watch?v=eBS3BOI5KnM
https://jumpeter.gumroad.com/l/VTA_PBCelShader
Overall, it's a very nice cel shader! 😻
I like that it fits perfectly with Unreal Engine's standard PBR lighting workflows, without needing convoluted/annoying workarounds like in other toon shaders.
So, I implemented that by using CustomDepth Stencils
NekoSuki has a more realistic shading, with a slight toon effect.
But the CustomDepth Stencils can be used with any other PBCelShader configuration 🙂
I imported a VRoid character using the VRM4U plugin.
I used the "Subsurface Scattering Profile" shader from VRM4U, + the PBCelShader post-process material.
(I found this the easiest setup for my project)
The outlines I'm using are also from VRM4U.
- "CustomDepth Stencil Mask" section, at the end of the post-processing logic
- A new scalar parameter, "CustomDepth Stencil Value" and its respective Named Reroute Node
Img 3 (alternate of img 1) explains what's connected to the Stencil Mask's "Lerp A" pin
(cont.)