there’s going to be times of hardship and times where it feels like you can’t pull through. to get through any of this takes incredible willpower and strength, but going into a new year and reflecting on those experiences lets you know how much you’ve grown. cried reading this. it’s so raw.
i knew life is tough but whew, lifes got hands,,, ill definitely be moving on from this point tho and treat the new year as a new start rather than like a new years goal/resolution
hoping that you manage to breathe in fresh air upon that start. you’ve totally got this - resetting your mind, and taking care of yourself is the most important thing of all.
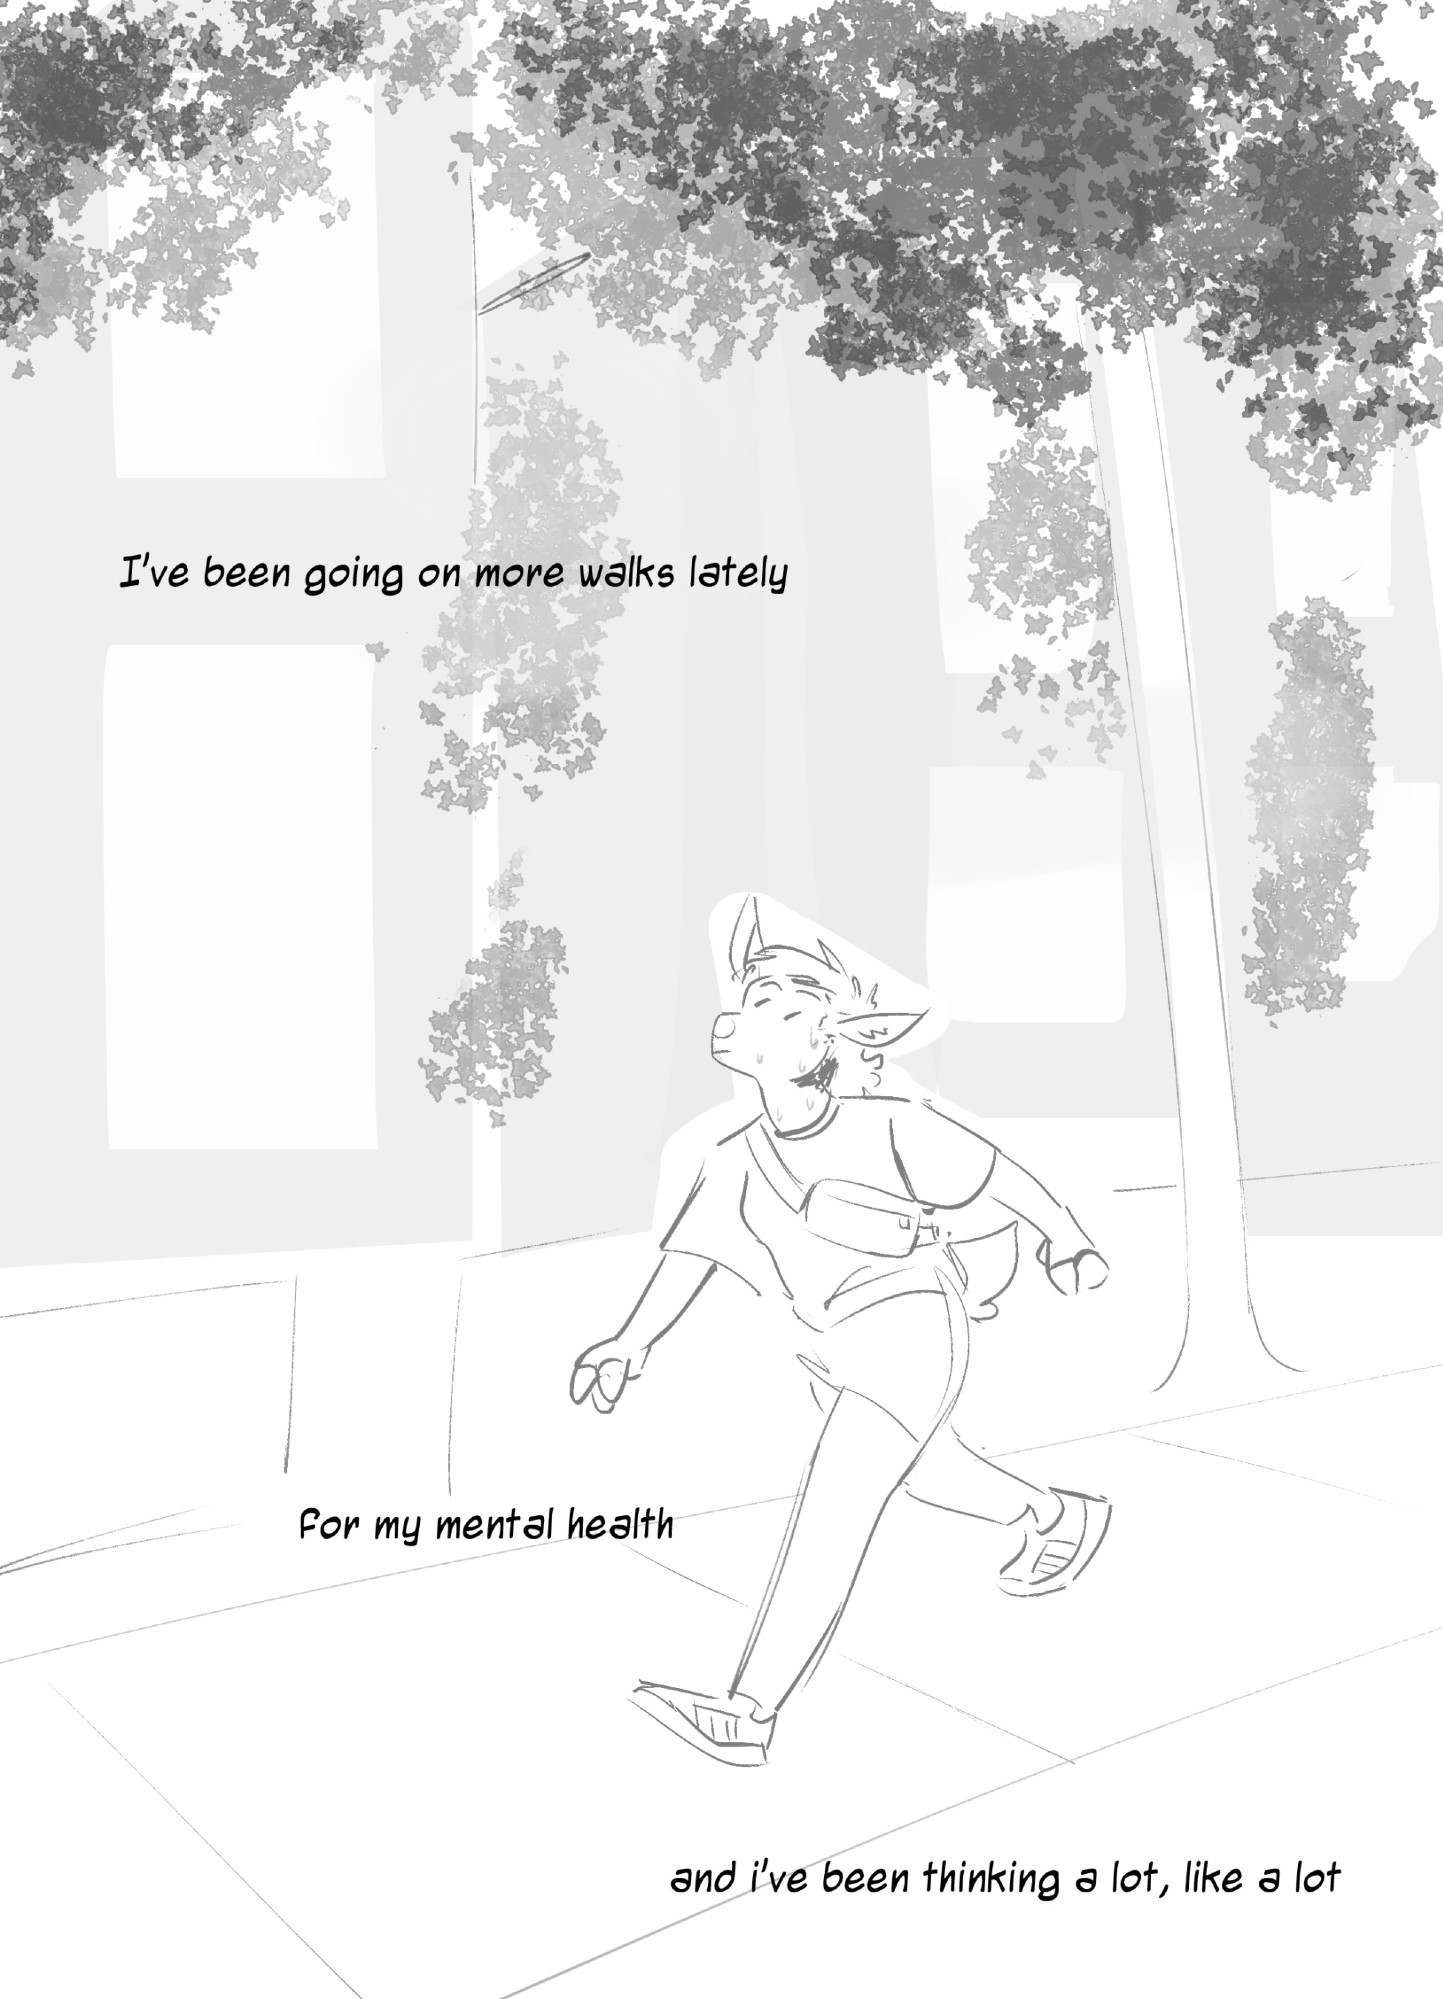
i've wanted to share these things to my followers for a while, to kinda explain why i've been pretty absent w my art, i've 100% been struggling to draw, i figured at least venting about this in THIS way, i'd finally be able to move past it, and a least looking at it all together now, i feel better
all of this happened from 2023 to 2024, i know my life isn't as unfortunate as others, i'm not really here to get a whole lot of empathy other than to just air everything out, i guess i'm only human
oh man, im familiar with some of this hell.
I had a person crashing on my couch just as the pandemic kicked off and they refused to budge, made their entire life about some streamer and being a discord mod and was just extremely rude and made our home unwelcome. it took like a year to kick them out.
Man.. dude this sounded all really rough, chaotic... I'm glad you're giving yourself some time to take care of yourself, I wanna try to be on the group chat more often, I feel kinda bad for not checking up more often, I miss talking to you guys
Life on my end has been kinda hectic too, I don't mean to be flaky, I think I have some personal things I gotta work on but I really do enjoy everyone's company, you and everyone else are great friends
im really glad to hear when others relate, i sometimes feel like i might be too much ,, vulnerable and way too open about this kinda thing, but compared to others, ive def seen tougher stories, those definitely inspired me to at least talk about mine
I'm so sorry you've been dealing with all this...I really relate . A lot I'm only now getting a hold of recovering wrt my own string of people & fallout over the years. I hope feeling like ur allowed to talk abt it here helps + u have good luck & stability with how folks treat u in the future 🙏
talking about it here REALLY helped, i think the people im afraid to see this only lurk & aren't very "active", scary BUT it helps to know they aren't likely on bsky, what helps is that those people likely see this as "a furry app" & won't sign up
And ty 🫂🙏 hoping better things for both of us ahead & for folks who match where you are and where u r heading & also that your home can actually feel safe & restful for you, not having that can wear on you so fast
I really understand bc I have extremely similar problems which is related to me not speaking much on my own history and withdrawing a lot online haha 😅 🫂 I am glad you have a little space carved out for you rn, being able to just Relax & not look over ur shoulder does so much for u mentally fr
Comments
i knew life is tough but whew, lifes got hands,,, ill definitely be moving on from this point tho and treat the new year as a new start rather than like a new years goal/resolution
I had a person crashing on my couch just as the pandemic kicked off and they refused to budge, made their entire life about some streamer and being a discord mod and was just extremely rude and made our home unwelcome. it took like a year to kick them out.
You really rock, seriously, and I am hoping that 2025 is a banger year for you.
You rock!!!
also wishing you luck!!!🙏
https://bsky.app/profile/vpvrtment.bsky.social/post/3lepxwjuzgl22